Creating and Managing Support Tickets in the Client Area
Step 1: Log into the Client Area
Assuming you are already logged into the Client Area, if not, please follow the tutorial named "How to Login to the Client Area."
Step 2: Access Support Tickets
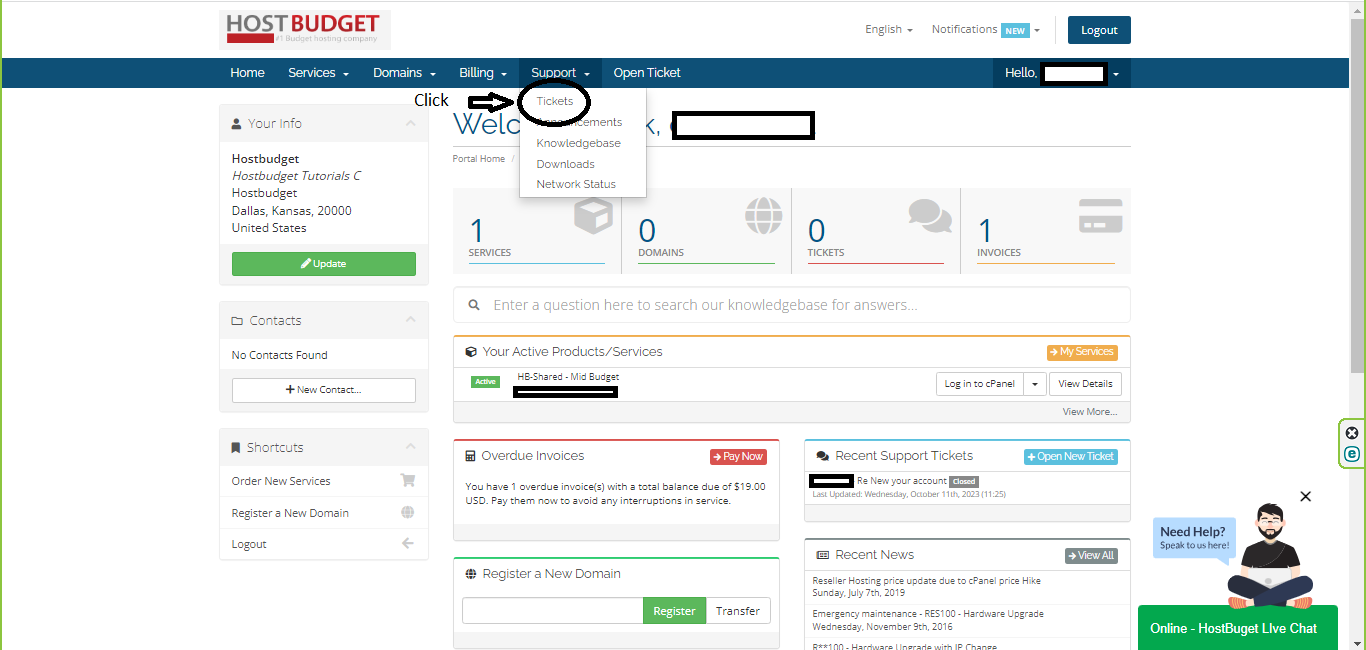
On the Client Area page, find the client area menu and click on "Support Tickets." This will take you to the Support Ticket Page.
Step 3: Submit a New Support Ticket
1. On the Support Ticket Page, look for the "Open Ticket" option.
2. Click on "Open Ticket" to create a new support ticket.

Step 4: Create the Support Ticket
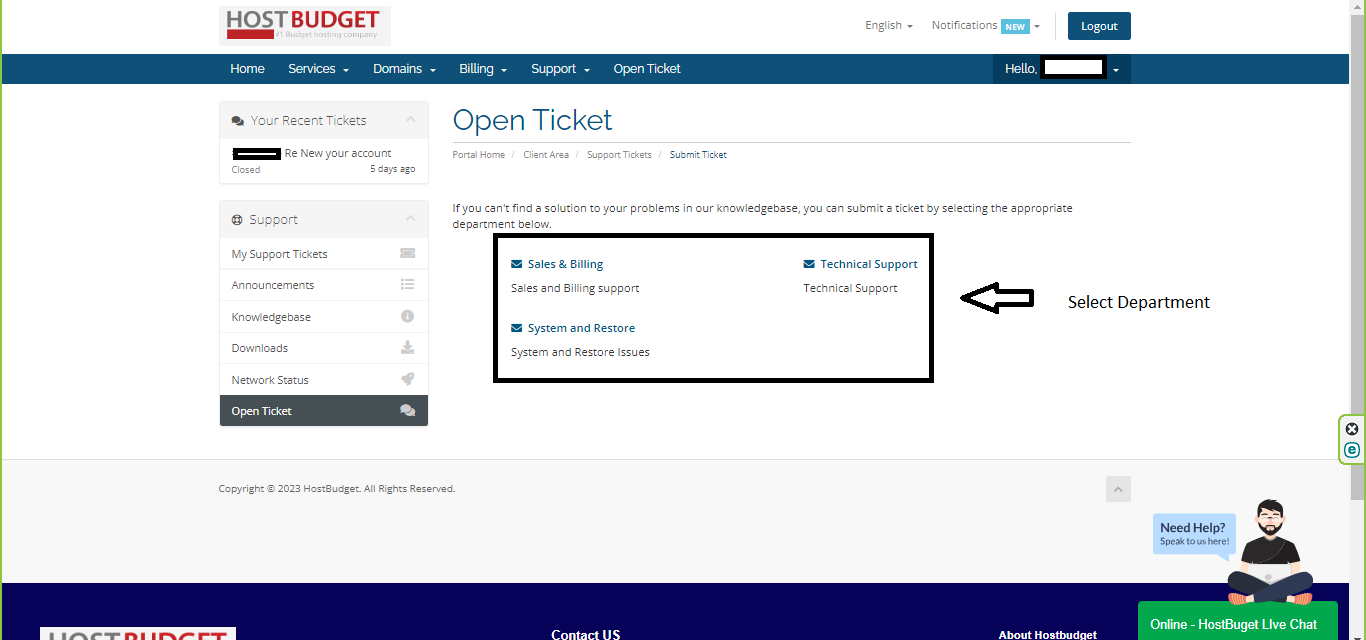
1. Click "open ticket" and Select the department to which you want to send the ticket.
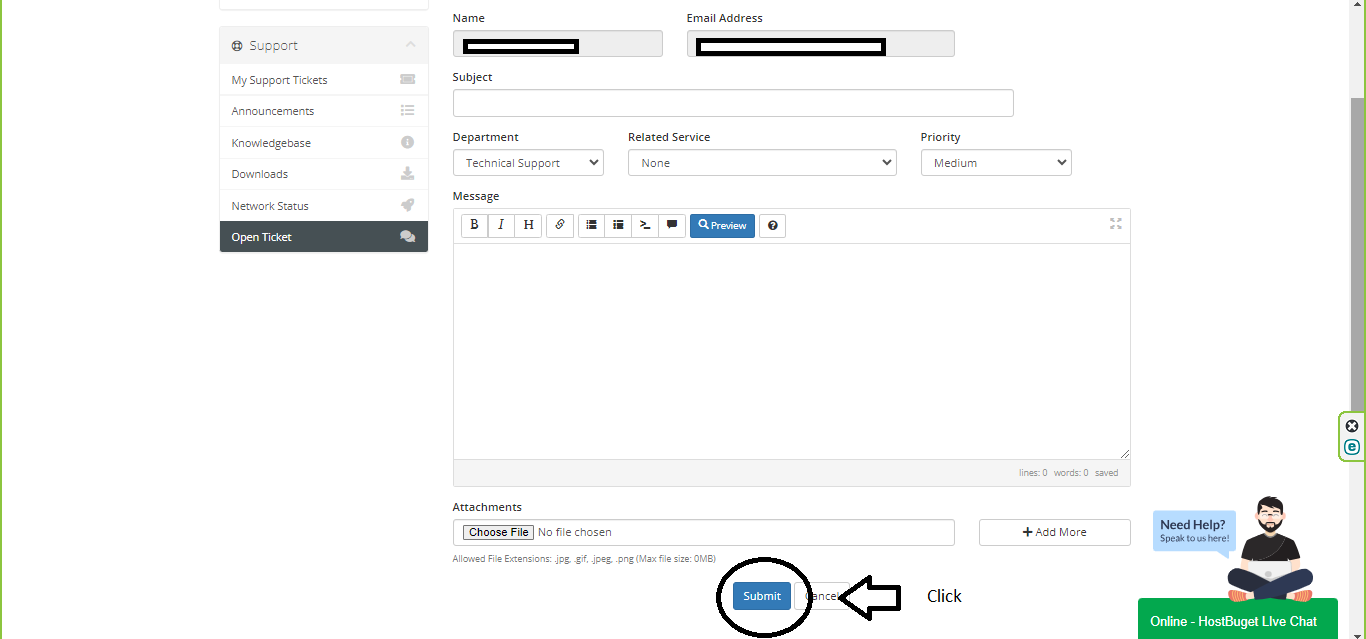
2. The ticket will open with your information already filled in.
3. Enter a subject in the subject line, summarizing your issue.
4. In the large text box, provide the details of your support request.
5. Once you have entered all the necessary information, click "Submit."
Step 5: Confirmation
Upon clicking "Submit," your support ticket is successfully created, and a copy is emailed to you for your records.
Step 6: Managing Existing Support Tickets
1. To manage an already submitted ticket, click on the "My Support Tickets" link.
2. You will see a list of tickets that you have submitted, along with their current status.
3. If a ticket is open and you want to add more information or details to it, click on the subject of that ticket to open it.
4. You can scroll down and add additional information or comments.
5. If your issue has been resolved, you can mark the ticket as closed by clicking on the "IF RESOLVED, CLICK HERE TO CLOSE THE TICKET" button.
Step 7: Return to the Client Area
After managing your support tickets, you can click on the "Client Area" in the "You are here" list to return to the Client Area.
