PASSWORD PROTECTING DIRECTORIES
Password protecting a directory will allow you to require a username and password to access a folder or folders from the web.
This tutorial will assume that you are logged into your cPanel. If you are having trouble doing that, please see the tutorial named "How to Login to cPanel"
Follow the below given steps to successfully password protect a directory:
-
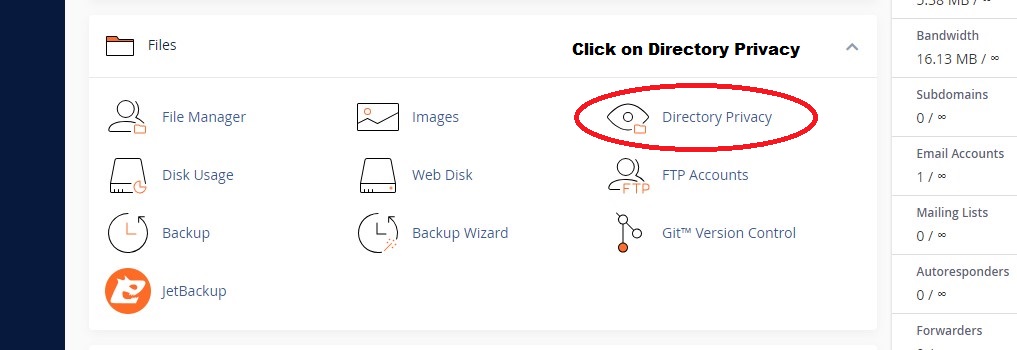
Once in the cPanel interface scroll down till you come across the "Files" section and from the said section click on the "Directory Privacy" icon/option.
-
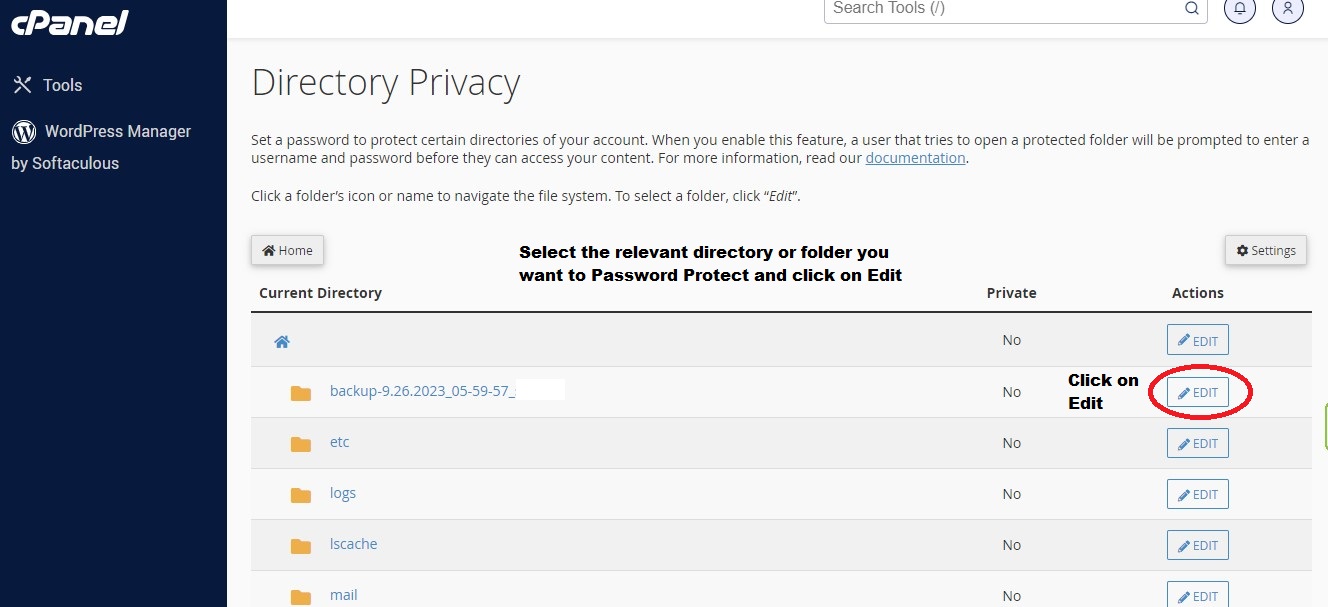
If step one was followed correctly you will be directed to the "Directory Privacy" page where you will be able to see the current directory and all the folders inside of it. Click on the "edit" button in front of the directory or folder you want to password protect or if you want to password protect a certain file inside a folder click on the name of the folder and repeat the same thing.
-
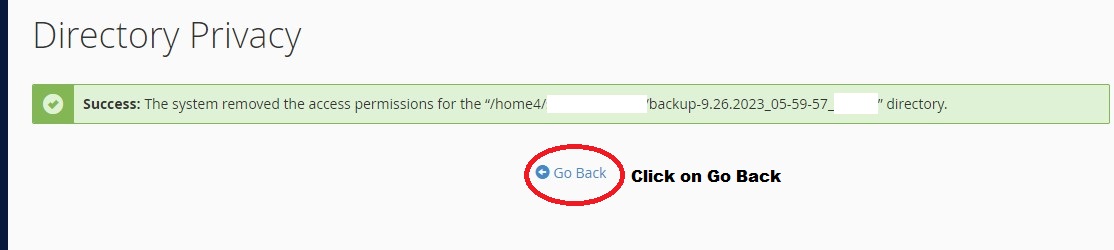
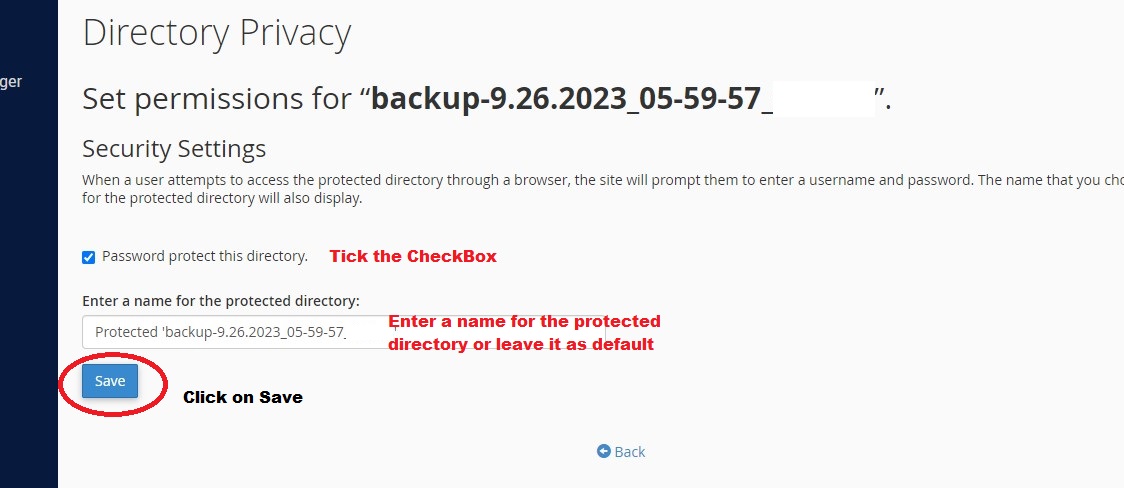
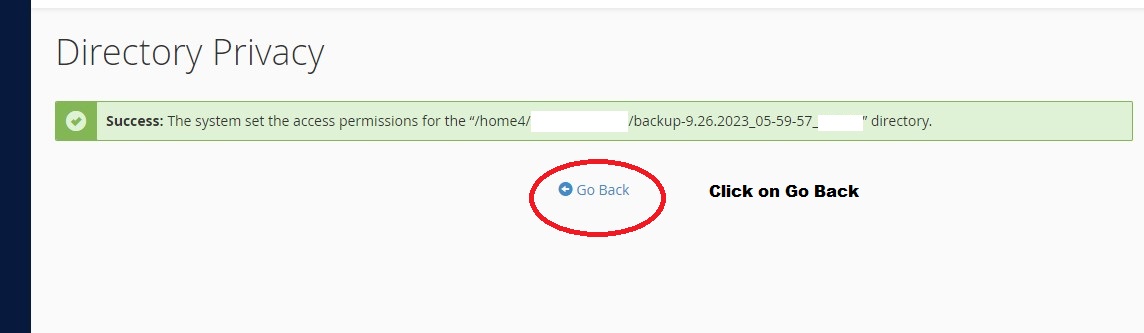
Once you click on the "Edit Button" you will directed to another section of the "Directory Privacy" page where you can set the security permissions for the selected directory, file or folder. From here put a tick on the "Password protect this directory" checkbox and enter a name for the protect directory on the textbox right below it and click on "Save" which will display a confirmation message stating that you have successfully set access permission to the relevant directory you chose. Click on the "Go back" link label to return to the "Directory Privacy" page.
-
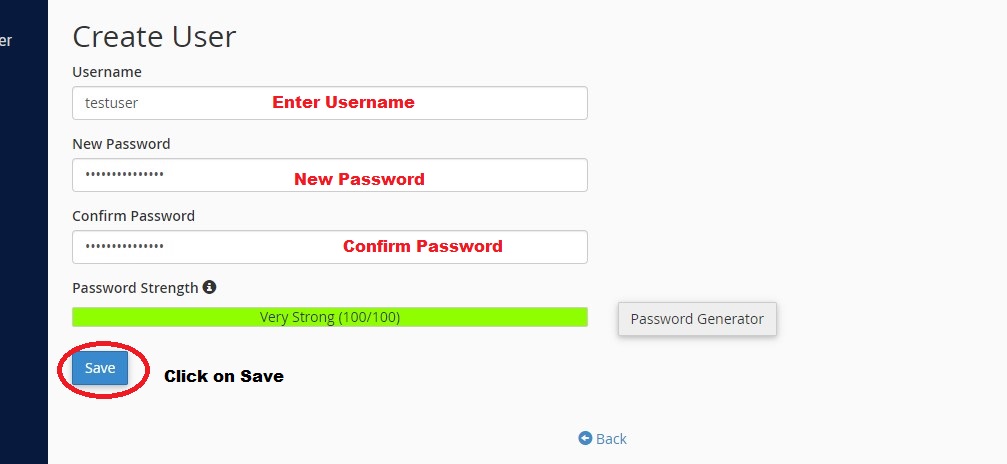
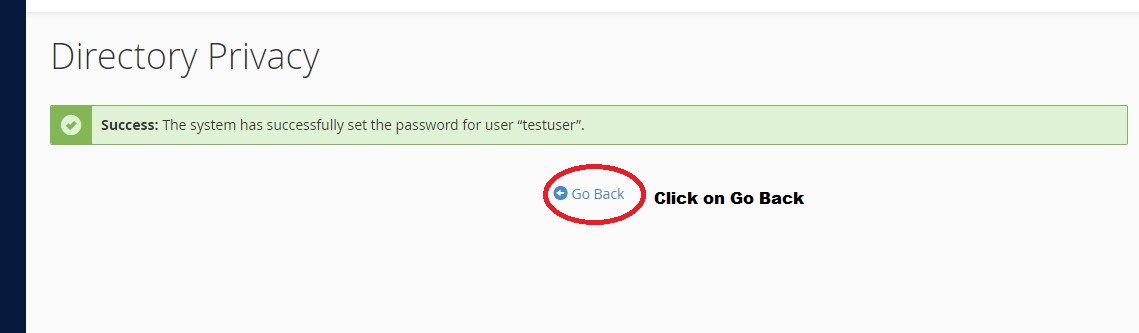
Once in the "Security Settings" page scroll down till you see the area to create a new user. Enter a "Username" a "New Password", "Confirm Password" and finally when done click on "Save". This will prompt you to a page which will display a confirmation message stating the system has successfully set the password for the relevant user, click on the "Go Back" link label to return back to the "Directory Privacy" page.
You have now successfully password protected the relevant directory, file or folder and it can only be accessed through the "Username" & "Password" you created on step on four.
When listed, your directory will now have a lock icon next to it, to indicate that it is password protected.
REMOVING USERS & PASSWORD PROTECTION
Follow the below given step to remove an added user:
-
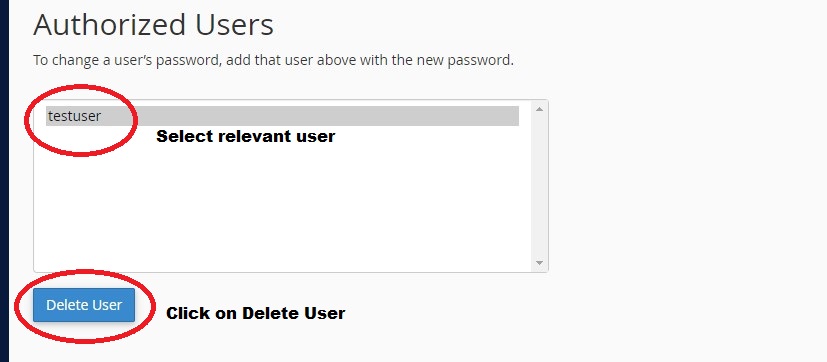
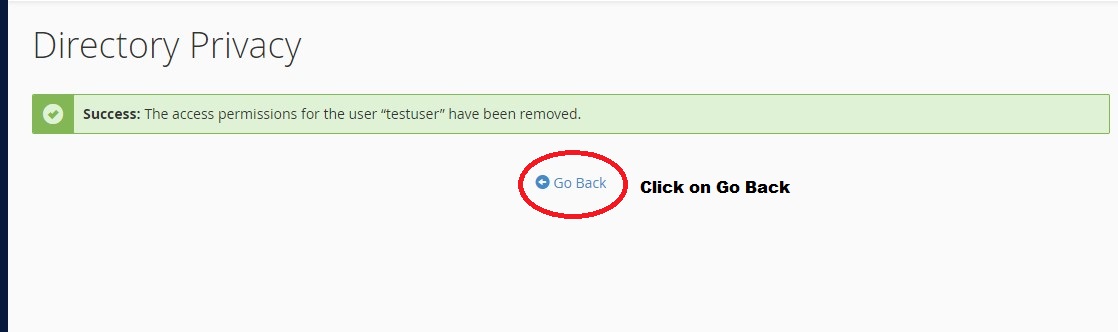
If you just want to remove a user, scroll down select the relevant user under the "Authorized User" section and click on "Delete User". This will prompt you to a page which confirms the said user was deleted. Click on the "Go Back" link label to return to the "Directory Privacy" page.
Follow the below given step to remove password protection from a directory:
-
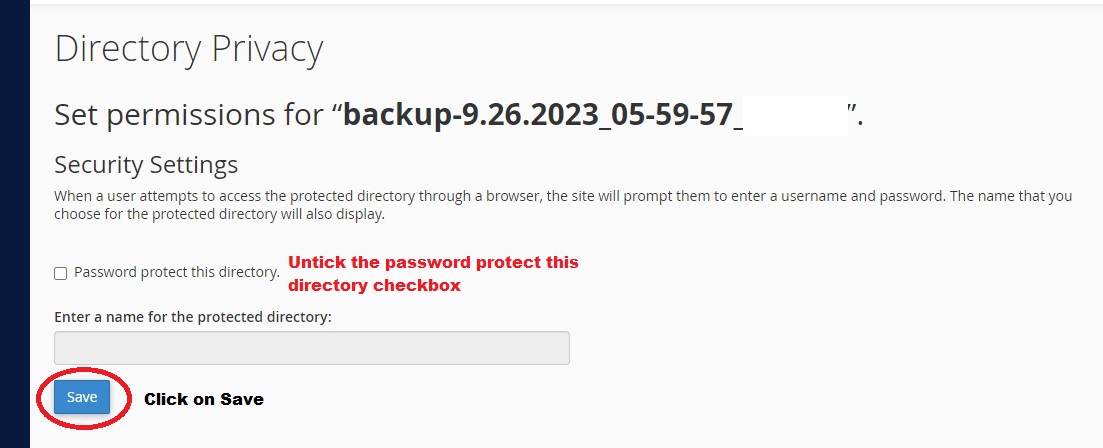
Once in the "Directory Privacy" page where you can set permissions for the selected password protected directory, under the Security Settings Section untick the checkbox which says "Password protect this directory" and click on the "Save" button. This will prompt you to a page which confirms that the password protection has been successfully removed, click on the "Go Back" button to return to the "Directory Privacy Page"
VISUAL GUIDE
Adding Password Protection to a Directory
STEP 01:
STEP 02:
STEP 03:
STEP 04:
STEP 05:
STEP 06:
Removing an Added User:
STEP 01:
STEP 02:
Removing Password Protection from a Directory
STEP 01:
STEP 02: